

While getting old-school effects and Lightroom presets is easy – there are numerous tutorials on the web – getting them with finesse and the right level of control is a different story. Mastering these techniques can take some time, but the results will be worth it. Once you master these techniques, you will be able to give your photos the classic feel even if they were shot with your mobile phone.
Sounds good? Let's get started!
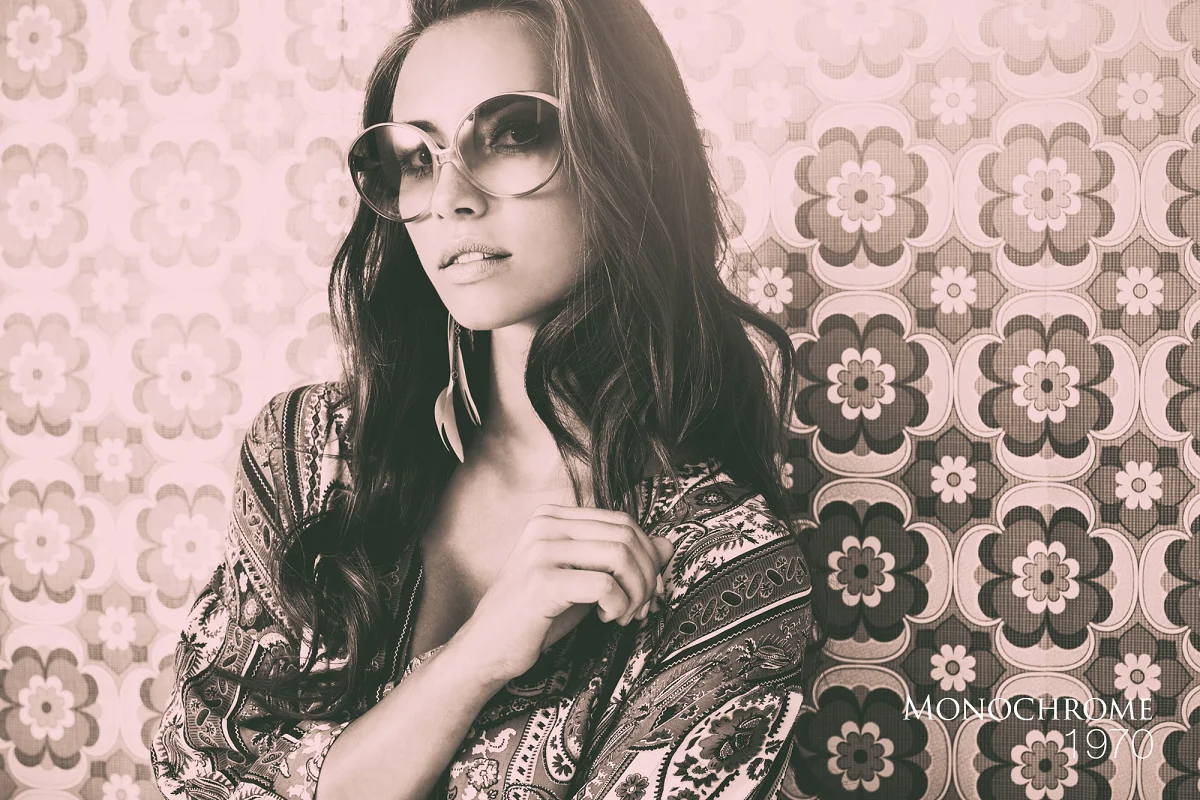
 |
| Source: CreativeMarket |
1. Choose The Right Photo
This might seem like a no-brainer, but this is actually harder than it seems. Not every photo works well with old-school effects and free Lightroom presets, so you need to find an image that will work nicely with them.The best photos for this kind of effect are usually those with a lot of texture. This could be an old building, a rustic farmhouse, or any other location that has a lot of character. If you're shooting in person, try to find a location that has some interesting features and avoid simple landscapes.
If you need Adobe Lightroom presets for your photo of choice, check out CreativeMarket.
2. Choose The Right Moment
There is a certain charm in old-school effects that you don't get from modern photos. In order for this effect to work, it's important to shoot at the right time of day or night. This means shooting either early in the morning or late at night with a clear sky and no people around.If you choose to shoot during the day, choose a cloudy day with some interesting shadows. If you want to capture sun rays you can do this by chasing the sun and shooting through it using your ND filter (or even without one). But if possible, try to find nice soft light that will not cast hard shadows on your photos.
Whichever time you choose, it’s important to employ the right techniques and use the right presets for Lightroom on them.
3. Photoshop Actions
Now that you have chosen the right photo and location, it's time to start post-processing. The first step is to install some Photoshop actions. The actions will add some basic effects, but you will usually need to adjust them by hand for the best results. With constant practice, you’ll get better at it.4. How To Adjust The Effects
Now that you have applied the actions, it's time to adjust them by hand. This is where you can really make your photos stand out so make sure you do this properly. It’s quite painstaking, but it gets easier once you have the feel for it.Start by reducing the opacity of the action layer to around 30-40%. This will give you a good starting point and you can then start adjusting the settings.
One of the most important things is to use the right brush size. If the brush is too small, you will not be able to make any changes. If it's too big, the effect will be too strong. Try to find a good medium size that will work for most of your adjustments.
The other important thing is to use the right blending mode. The most common modes are Normal, Overlay, and Soft Light. These modes will affect how the textures are blended together and you need to experiment with them to see which one works best for your photo.
 |
| Source: CreativeMarket |
5. Finishing Touches
The final step is to add some finishing touches to the photo. This could be something as simple as increasing the contrast or adding a vignette.You can also add some text or a border for a more vintage look. You learn as you mix and match all sorts of methods, so don't be afraid to try different variations and other techniques, such as adding the best Lightroom presets for the image. You can also change the opacity or tone down the effects if they are too strong for your taste.
In Summary
When it comes to photography, one way to add a touch of vintage class is to use old-school effects in your post-processing, even if it’s just with Lightroom mobile presets. It's a great way to add some unique style to your photos. it's not a walk in the park, but with these tips, you should be able to do it.
.jpg)


0 Comments